Show the layout, not only the pieces
A useful drawing shows the elevation with a mark for every piece, the courses, the corners and the openings. It also records the orientation of veining or bedding where the appearance depends on it.
Compare the layout with the approved sample so everyone agrees how the natural variation is expected to be distributed across the wall.
State dimensions, thickness and joints
List the dimensions and thickness of each piece type and the joint widths between them. Tolerances should be taken from the project specification, with the supplier confirming what is practical for the chosen stone and finish.
If a requirement is unclear, raise it before cutting begins. Changing a dimension after the stone has been cut is far more costly than changing a line on a drawing.
Describe the finish and the edges
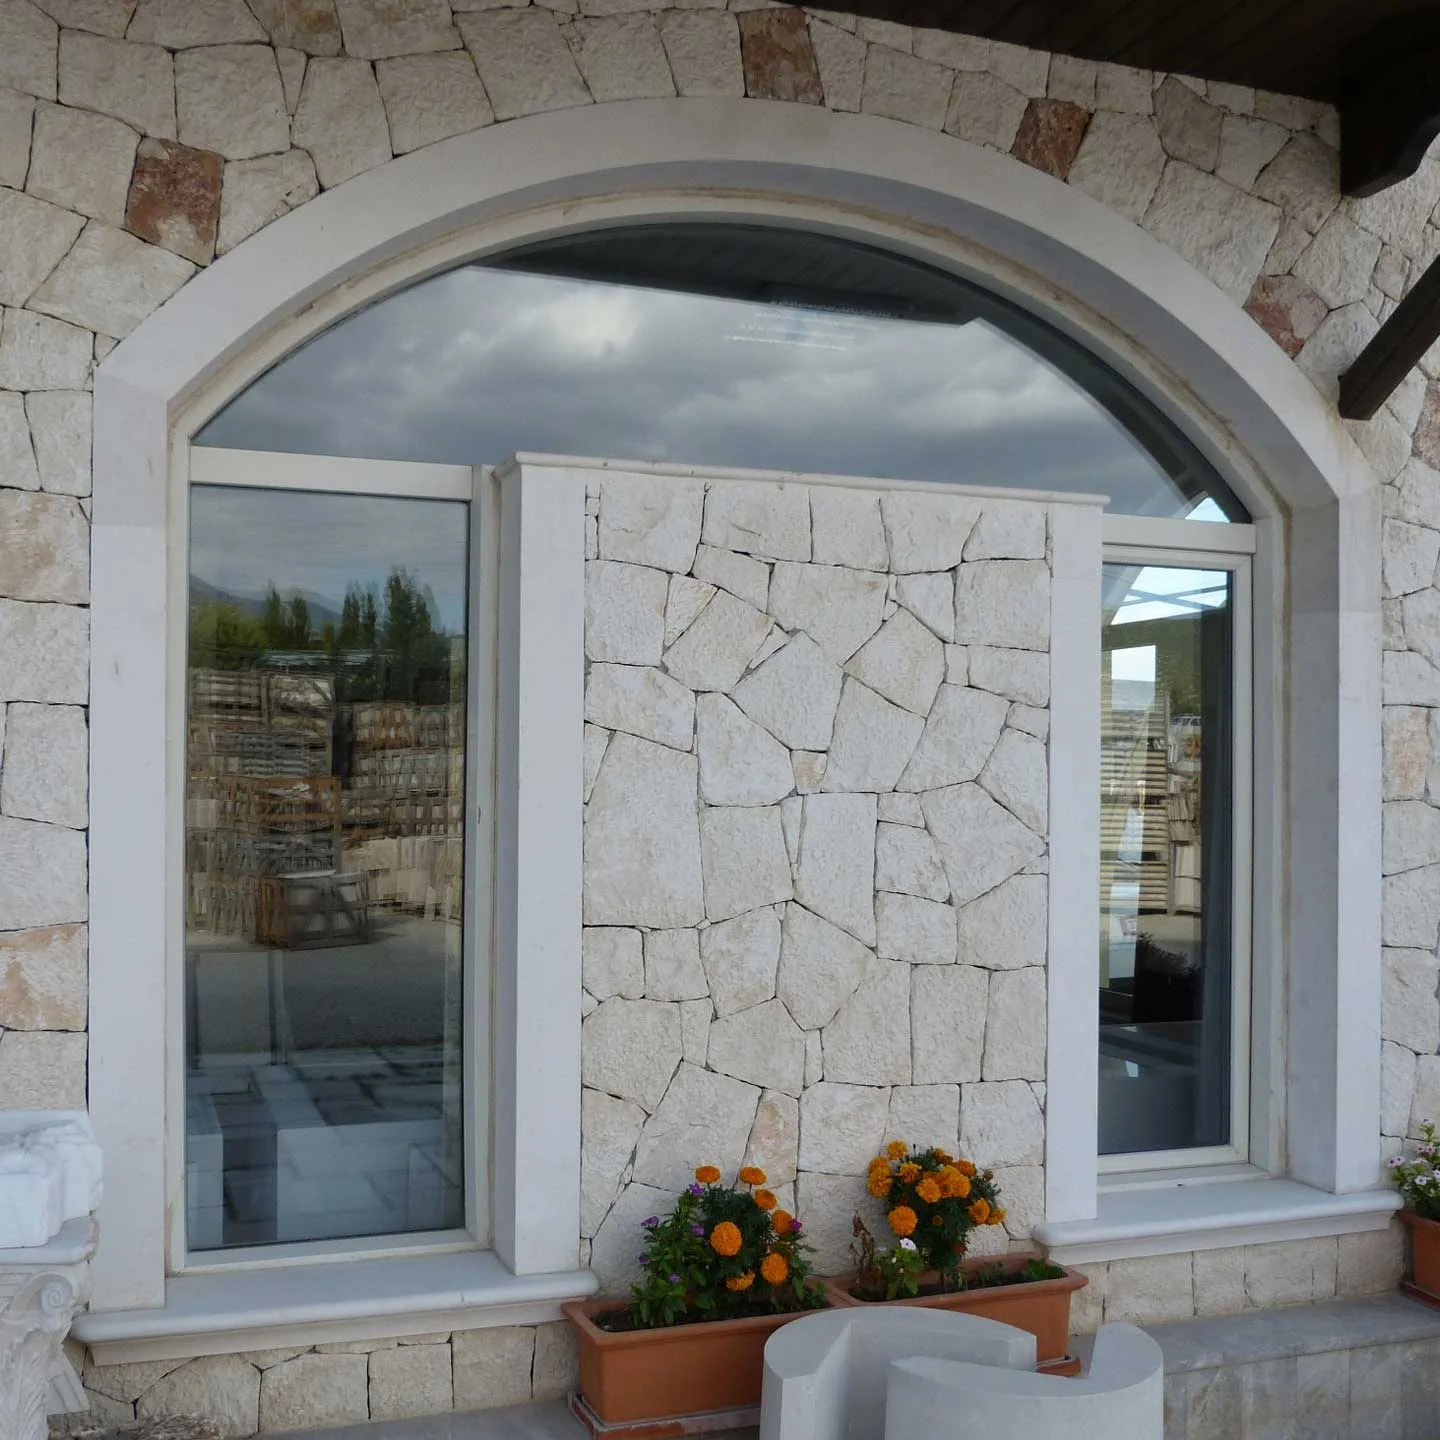
Name the finish for each visible face and edge, and refer to the approved sample. Include drips, returns, chamfers and carved profiles, because these details control how light and water behave on the facade.
For profiled elements, a section drawing communicates the shape better than an elevation alone.
Leave anchoring to the project engineer
Show the anchor and support locations that the engineer of record has designed, and mark any holes, kerfs or pockets that must be prepared in the stone. The fabricator should not replace the structural design.
Confirm these interface points before cutting, since they cannot be added easily afterwards.
Close the loop with an approval record
Give each drawing a revision number, an approver and a date. If a change is made after approval, issue a new revision and make sure the production team works only from the current one.
Mark the pieces with their drawing references so the installation team can follow the intended sequence.
Further reference
Bring it into your project.
Share your material preference, drawings and delivery destination to start a defined stone supply conversation.
Discuss your project